Wall Panel Waterproof Installation Guide
Step 1: Pre‑construction material inspection ? Check incoming industrial sandwich panel for surface damage, deformed edges and end‑face breakage before installation. Verify sealant, flashing trims and fasteners match the technical specification of industrial sandwich panel. Select weather‑resistant sealant suitable for outdoor exterior wall environment; low‑quality sealant will crack and fail within 1‑2 years under UV exposure. SAMZOON can provide matched accessory recommendation for industrial sandwich panel exterior‑wall projects.
Step 2: Wall frame and base condition check ? Inspect steel purlin flatness and spacing. Uneven purlins will cause poor fitting between adjacent industrial sandwich panel sheets, creating hidden gaps for water penetration. Correct frame deformation before mounting industrial sandwich panel. Confirm drainage slope direction for exterior wall flashing to ensure rainwater flows outward naturally.
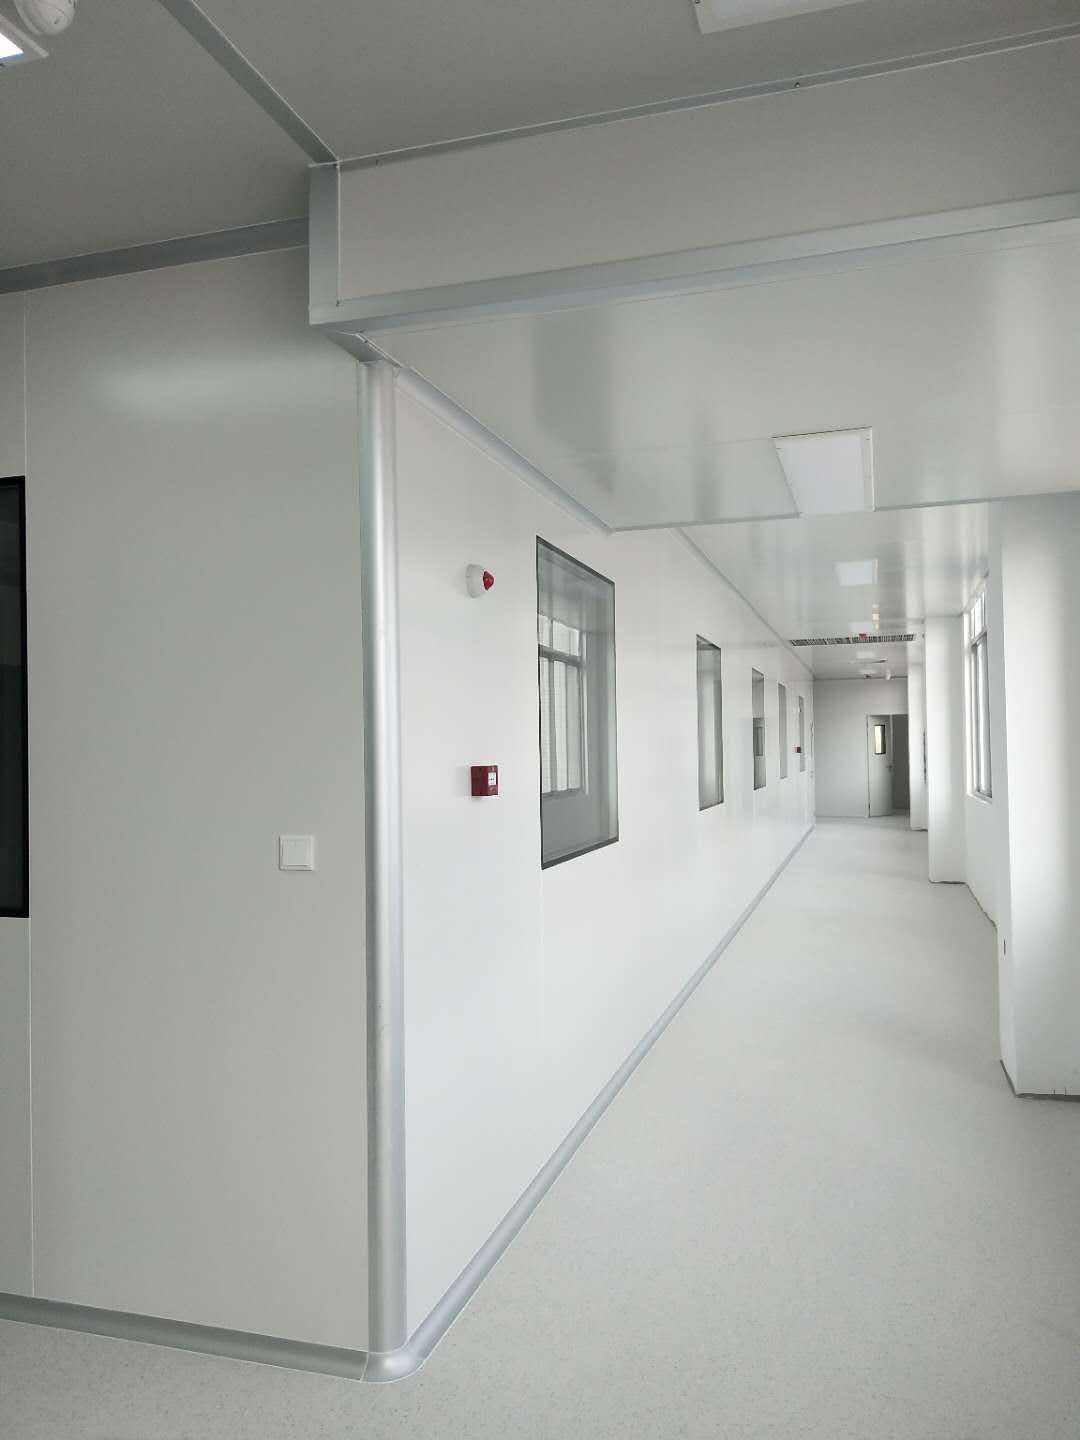
Step 3: Industrial sandwich panel lap joint installation ?️ Handle vertical and horizontal lap joints strictly for industrial sandwich panel exterior walls. Keep proper lap overlap width according to wind‑load requirement. Avoid narrow overlap which brings high leakage risk. Align male‑female interlock groove fully, do not force‑bend panel edges. Misaligned interlocks are one major source of hidden water channels inside industrial sandwich panel joints.
Step 4: Multi‑layer sealing treatment for joints ?️ Clean dust, oil and moisture from joint surfaces completely before applying sealant. Apply continuous uniform sealant bead inside interlock groove before closing industrial sandwich panel lap. Add auxiliary waterproof tape or EPDM gasket at horizontal overlaps. Never only apply sealant on the outer surface; single‑side outer sealing easily fails under temperature expansion‑contraction.
Step 5: Trim, corner and opening detail handling ⚙️ Pay high attention to corners, door‑window openings, roof‑wall connection parts of industrial sandwich panel. Install metal flashing trims with double‑side sealing. Do not leave exposed open cut ends of industrial sandwich panel; seal cut ends tightly to stop rainwater penetrating into core material. These detail positions account for most real‑world wall leakage cases.
Step 6: Fastener installation standard ? Use self‑drilling screws with EPDM rubber washers for industrial sandwich panel fixing. Fastener position shall follow design drawing; avoid over‑tightening or under‑tightening screws. Over‑tightening will dent industrial sandwich panel surface and damage rubber washer, while insufficient tightening causes loose joint and water seepage. All fastener points need secondary sealing treatment.
Step 7: On‑site acceptance after installation ✅ Visual inspection: check industrial sandwich panel surface flatness, joint alignment, complete sealant continuity, no break‑points on sealing lines. Check all flashing and corner trims are well‑fixed. Conduct simulated water‑spraying test on key joint positions to verify no water penetration behind industrial sandwich panel. Record acceptance result for project handover.
Step 8: Post‑installation maintenance reminder ? Avoid scratching or piercing industrial sandwich panel exterior wall surface after completion. Periodically inspect sealant aging, fastener washer aging and trim deformation. Replace failed sealant in time. Do not drill random holes on finished industrial sandwich panel wall without proper re‑sealing measures.
Typical pitfalls to avoid: ‑ Only outer‑side sealant without inner‑groove sealing → hidden water leakage ‑ Insufficient lap overlap width under heavy‑rain climate ‑ Exposed cut ends of industrial sandwich panel without end‑sealing ‑ Using indoor‑grade sealant for outdoor exterior wall ‑ Over‑tightening screws leading to panel dent and washer damage