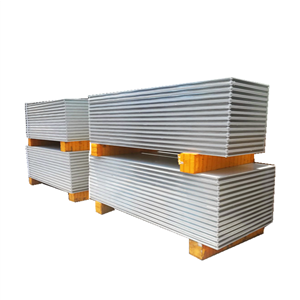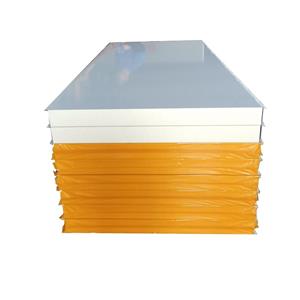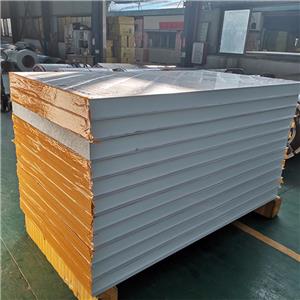
High‑Wind Coastal Installation For Metal Sandwich Wall Panel
Step 1: Pre‑construction wind‑load & drawing review ? Before installing metal sandwich wall panel for coastal high‑wind sites, confirm local wind‑load parameter and engineering drawing. Verify purlin spacing, screw quantity and panel lap width are designed to resist strong gust. Do not adopt ordinary inland‑grade drawing directly for coastal projects. SAMZOON can provide technical checking service for your metal sandwich wall panel drawing.
Step 2: Purlin system inspection and reinforcement ? Check flatness, thickness and installation spacing of steel purlins. Too‑wide purlin spacing is a major cause for metal sandwich wall panel bulging and vibration under wind pressure. Reinforce purlin structure if original design cannot meet wind‑load requirement. Ensure all connecting bases are firmly anchored to main steel frame.
Step 3: Metal sandwich wall panel hoisting and positioning ?️ Select proper hoisting tools to prevent scratching or denting metal sandwich wall panel surface. Place metal sandwich wall panel according to wind‑pressure direction. Keep sufficient overlap width for vertical and horizontal joints. Narrow overlap will lead to joint separation under repeated positive‑negative wind pressure. Align male‑female interlock completely, do not force panel into position.
Step 4: Fastener specification for high‑wind condition ? Use heavy‑duty self‑drilling screws with high‑quality EPDM rubber washers for metal sandwich wall panel. Follow designed screw quantity, do not reduce screw amount to cut cost. Control screw tightening torque properly: over‑tightening dents metal skin; insufficient tightening brings loose connection risk. All fastener positions need secondary waterproof sealing.
Step 5: Joint multi‑layer sealing & edge reinforcement ?️ Fully clean dust and moisture from joint surface before sealing. Apply continuous sealant inside interlock groove before closing metal sandwich wall panel joint. Add EPDM gaskets at horizontal laps. For building corners, wall‑roof transition and building edges which bear maximum wind suction, install extra metal flashing and reinforcing parts. These perimeter zones are the highest‑risk area for wind damage.
Step 6: Opening detail reinforcement for doors and windows ⚙️ Door and window openings are weak points under strong wind. Strengthen surrounding keel frame of metal sandwich wall panel opening. Apply double‑side sealing for opening flashing trims. Avoid cutting large irregular openings on metal sandwich wall panel without local reinforcement measures.
Step 7: On‑site acceptance for wind‑resistant performance ✅ Visual check: metal sandwich wall panel surface keeps flat, no warping at joints; all fasteners, gaskets and flashing trims are fully installed. Check interlock joints have no gap. Simulate wind‑pressure and water‑spray test for key perimeter positions. Record acceptance data for project handover.
Step 8: Post‑completion periodic inspection reminder ? After project handover, arrange regular inspection especially before typhoon season. Check whether fastener washers are aging, sealant is cracking, and flashing trims are loose. Repair defective parts timely to protect metal sandwich wall panel long‑term wind‑resistant capacity.
Critical pitfalls to avoid: ‑ Apply inland‑standard purlin spacing for coastal high‑wind projects ‑ Reduce screw quantity to save cost ‑ Only outer‑side sealant without inner‑groove sealing for metal sandwich wall panel joints ‑ Insufficient lap overlap width under wind suction ‑ Ignore reinforcement at corners, wall‑roof joints and door‑window openings